Requirements and test design
How to Automate Testing in Azure DevOps: From Work Item to Tested Code
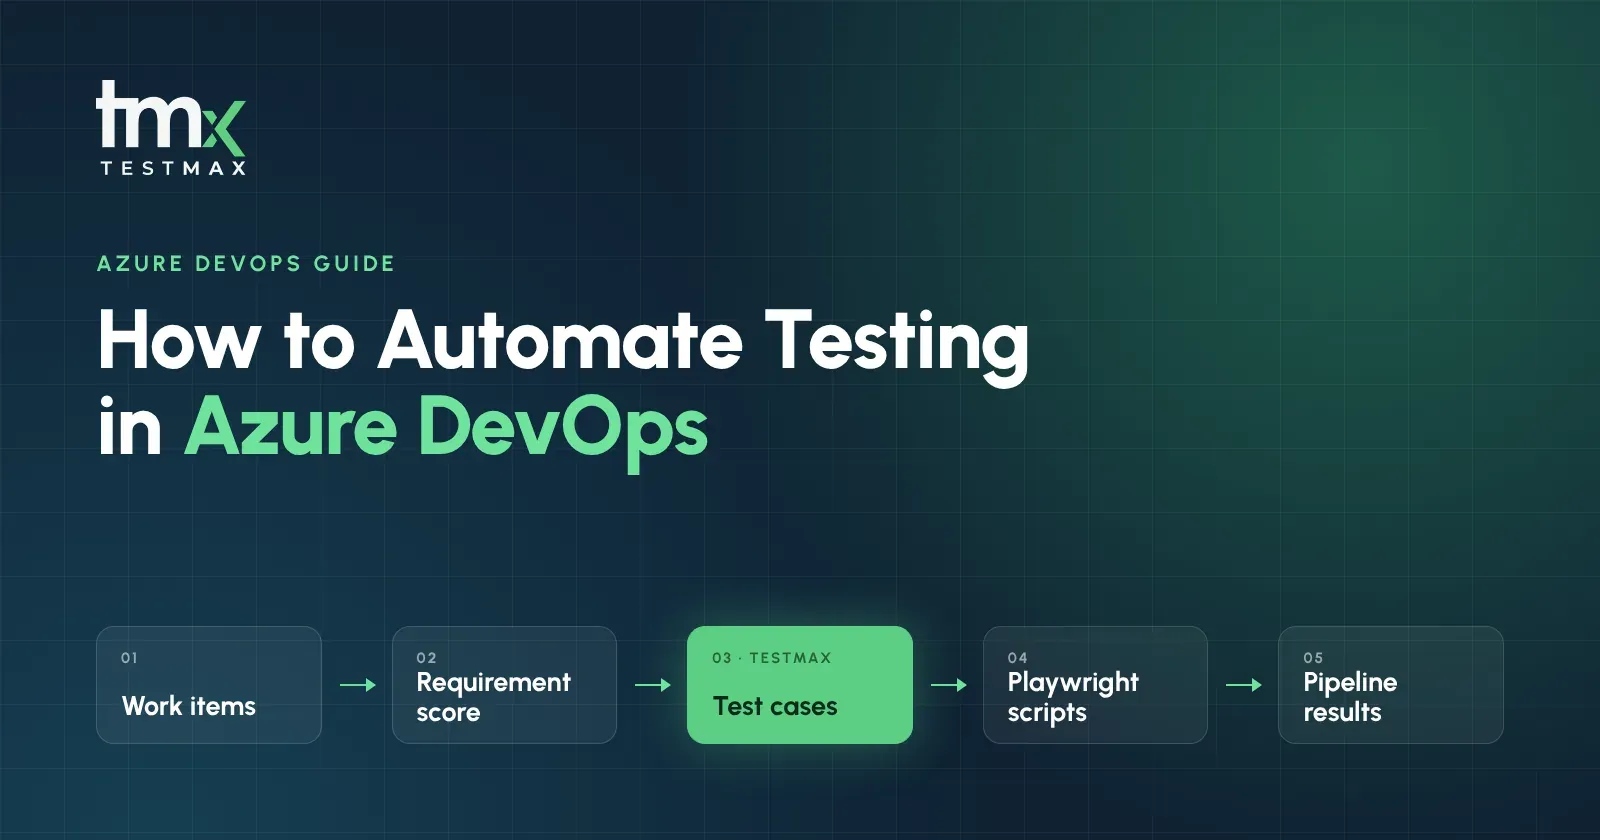
A practical guide to automating tests in Azure DevOps: from a work item to test cases, Playwright scripts and results sent back where your team works.
Quick answer
To automate testing in Azure DevOps, start from the work item, not the script. Check that each user story is clear and testable, turn it into test cases, write automation scripts, run them in a pipeline, and send results back to the work item. TestMax does this in one flow and exports cases, scripts and logs back to Azure DevOps.
5 min read
If your team lives in Azure DevOps, you already have most of what testing needs. Your requirements are in Azure Boards. Your code is in Azure Repos. Your builds run in Azure Pipelines.
So why does testing still feel like the part held together with tape?
Usually it's because the pieces don't talk to each other. Someone reads a user story, writes test cases by hand in Azure Test Plans, then writes scripts somewhere else, runs them in a pipeline, and finally copies the result back into the work item. Every handoff is a place where things get lost.
This guide walks through how to automate testing in Azure DevOps properly, from the moment a work item is written to the moment its result shows up next to it.
What does automated testing in Azure DevOps actually mean?
Automated testing in Azure DevOps means your tests are created from work items, run without anyone clicking through the app, and report their results back into Azure DevOps so the team can see which requirements are proven.
That last part matters most. Running tests automatically is easy. Knowing which work item each test proves, and whether it passed in the last build, is where most teams struggle.
Where Azure DevOps testing usually breaks
Here's what we see in almost every Azure DevOps team:
- Vague work items. "User can reset their password easily" turns into a test that checks whatever the tester guessed "easily" means.
- Test cases written twice. Once as manual steps in Azure Test Plans, then again as code.
- Scripts living far from the requirement. The automation repo has hundreds of tests, but nobody can say which work item each one proves.
- Results copied by hand. Someone updates the work item after the run, when they remember to.
- Broken traceability at audit time. When a client or auditor asks "was this requirement tested?", the answer takes days.
None of these are tool problems. They're flow problems. So let's fix the flow.
How to automate testing in Azure DevOps, step by step
Step 1: Check the work item before you test it
This is the step almost everyone skips, and it's the one that saves the most time.
Before writing a single test, look at the user story or product backlog item and ask five questions:
- Clear: would two people read it the same way?
- Complete: are all the rules, limits and error cases written down?
- Consistent: does it clash with another work item?
- Atomic: is it one need, or three hiding in one sentence?
- Testable: can you write a clear pass or fail check for it?
If the answer to any of them is no, send it back with a question. We wrote a full guide on how to write testable requirements if you want examples.
Step 2: Turn each work item into test cases
For every work item, write test cases that cover four kinds of scenario:
- Positive: the normal path works
- Negative: wrong input is rejected the right way
- Boundary: the edges of every limit (4, 5 and 6 failed attempts, not just "a few")
- Edge: the odd cases, like an expired session halfway through
Keep the work item ID on every test case. This is what makes traceability possible later.
Step 3: Write the automation scripts
Now turn each test case into a script. Many teams today use Playwright for web UI tests, because it's open source, fast and works with TypeScript, JavaScript, Python, Java and C#.
The rule that matters: each script should point back to the test case and work item it proves. A script without that link is just code.
Step 4: Run the tests in your pipeline
Add the test run to Azure Pipelines so it happens on every build or pull request. If you also run tests on GitHub, our AI testing in GitHub Actions guide covers that setup.
For UI tests, use stable locators and self-healing where you can, so a renamed button doesn't fail the whole build.
Step 5: Send results back to the work item
This is the step that turns a test run into proof. The result of every test should land next to the work item it came from, in Azure DevOps, without anyone copying it.
When this works, anyone on the team can open a work item and see its test cases, its scripts and whether they passed.
How TestMax automates this whole flow
Doing those five steps by hand for hundreds of work items is a lot of work. TestMax does them in one flow, and Azure DevOps is where it connects most deeply. Its Azure DevOps integration works both ways.
Here's what that looks like:
- Work items come in as requirements. Import them from Azure DevOps (or from Jira, or Word, PDF and CSV files).
- Each one is scored. TestMax rates every requirement out of 5 on clarity, completeness, consistency, atomicity and testability, and suggests a rewrite for weak ones. That's step 1 above, done for you.
- Test cases are generated. Positive, negative, boundary and edge cases for every requirement.
- Playwright scripts are written. In TypeScript, JavaScript, Python, Java or C#. Your team can edit them or ask the AI script assistant to change them. See how on the AI test automation page.
- Tests run with self-healing locators, live logs and screenshots at every step. More on the test execution page.
- Everything goes back to Azure DevOps. Test cases, scripts and execution logs are exported back, and scripts can be pushed to your repository. Nobody copies a result by hand.
- Sync status is tracked per requirement, so you can see which work items changed in Azure DevOps since they were last brought into TestMax.
In the TestMax benchmark model, 15 test cases take about 8 minutes instead of 150 minutes by hand, and one automation script takes about 8 minutes instead of 120.
A quick example
Say your Azure Boards has this user story:
US-2481: As a customer, I want my account to lock after too many failed logins, so that my account stays safe.
In TestMax, it goes like this:
- Score: clarity 2 out of 5. "Too many" isn't a number, and there's no rule for how long the lock lasts.
- Suggested rewrite: "The account locks after 5 failed login attempts within 15 minutes and unlocks after 30 minutes."
- Test cases: 4 failed attempts (not locked), 5 failed attempts (locked), 5 attempts across 16 minutes (not locked), login after 30 minutes (unlocked).
- Scripts: one Playwright script per test case, in the language your team picked.
- Back in Azure DevOps: the test cases, scripts and run logs show up linked to US-2481.
One work item in, four traced tests out, and the vague rule fixed before anyone wrote code for it.
Comparing tools for Azure DevOps?
If you're also looking at other tools, our BrowserStack alternatives and Katalon alternative guides explain where TestMax fits. For the traceability part on its own, see our requirements traceability tools comparison.
Using Jira instead? The same flow works there too: see how to convert Jira user stories into automated test cases.
Try it with your own work items
The best test is your own backlog. Book a TestMax demo, bring three real Azure DevOps work items, and watch them get scored, turned into test cases and Playwright scripts, and sent back to Azure DevOps.